In English speaking countries, an asterisk is the standard for indicating a required field on a form, whereas in Japan, it is common-place to use styled【必須】and 【任意】marks to indicate required vs. optional fields.
No matter your preference, it is not easy to customize the required field indicator out of the box on Pardot forms. Today, we will change that, with our required character indicator mark generator.
If you’re marketing for a Japanese audience, use our simple Required character indicator mark generator to add a styled 必須 and/or 任意 indicator to your Pardot form fields, in minutes and without requiring any code knowledge.
If you’re marketing outside Japan and prefer to use an asterisk, use our generator to create an asterisk styled to your liking.
Here are the three step instructions
Step 1 – Modify your Pardot form field labels
Edit your Pardot form and append 【必須】to every field in the form. Optionally, append every optional field label with 【任意】. If you are looking to generate a custom assterisk, append (req) to every field in the form.
Here are two examples (Top example if you are going with 必須 and bottom example if you are going with an assterisk):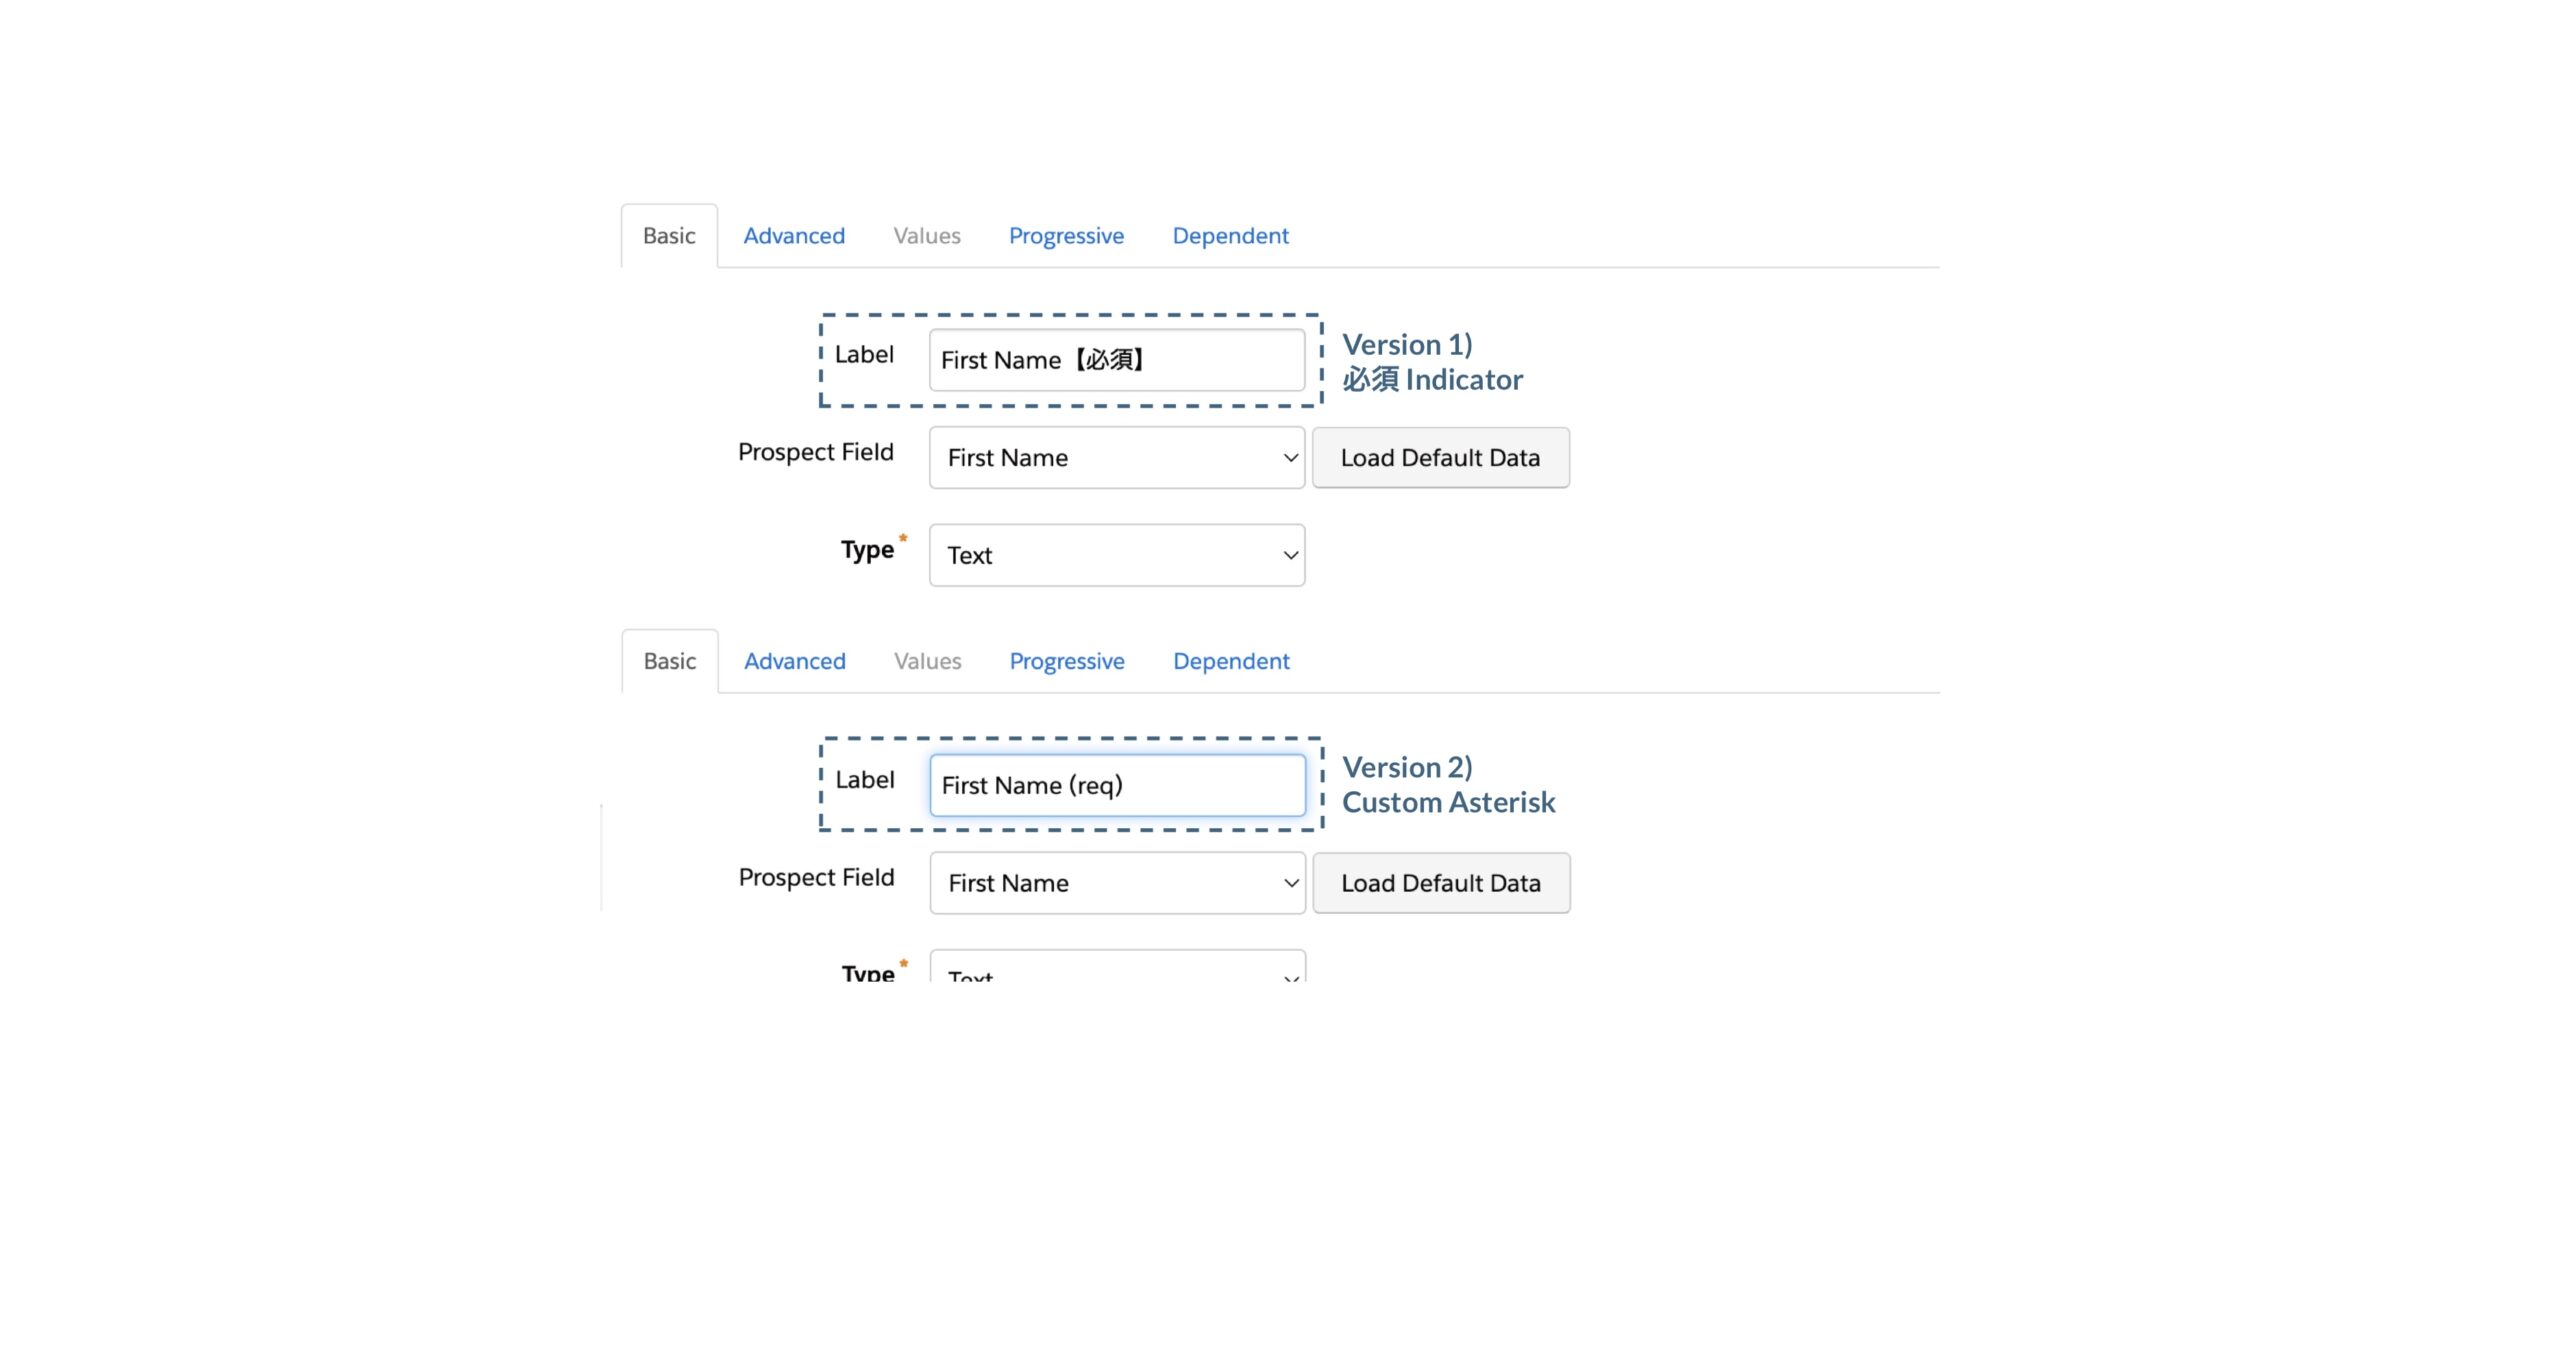
Step 2 – Style your indicator marks with our generator
Fill out our form at the bottom of this page to generate a code to style your required and/or optional fields. After you submit the form, the code will be sent to you by email.
Step 3 – Add the code to your form
After you receive your custom code by email, the final step is to copy and paste it into your form. Where to add it depends on how you are using your form.
Forms on Iframes and Pardot Classic Landing pages
If your form is used in an iframe on your website, or is added to a Pardot Classic Landing page, you will need to add the code to your layout template.
Click “Content” > “Layout Templates” and edit your form’s layout template.Cllick the “Form” tab and paste the code to the very bottom, underneath the </form> tag.
Forms on Pardot Lightning Drag and Drop Builder Landing pages
If you are embedding your form into a landing page built in the Pardot Lightning Drag and Drop Builder, you will need to add the code to your form itself, instead of the layout template.
Click “Content” > “Forms” and edit your form. Click the “3.Look and Feal” tab and click “Below the Form”. Next, in the editor, select the “<>” icon to edit the HTML and paste the code.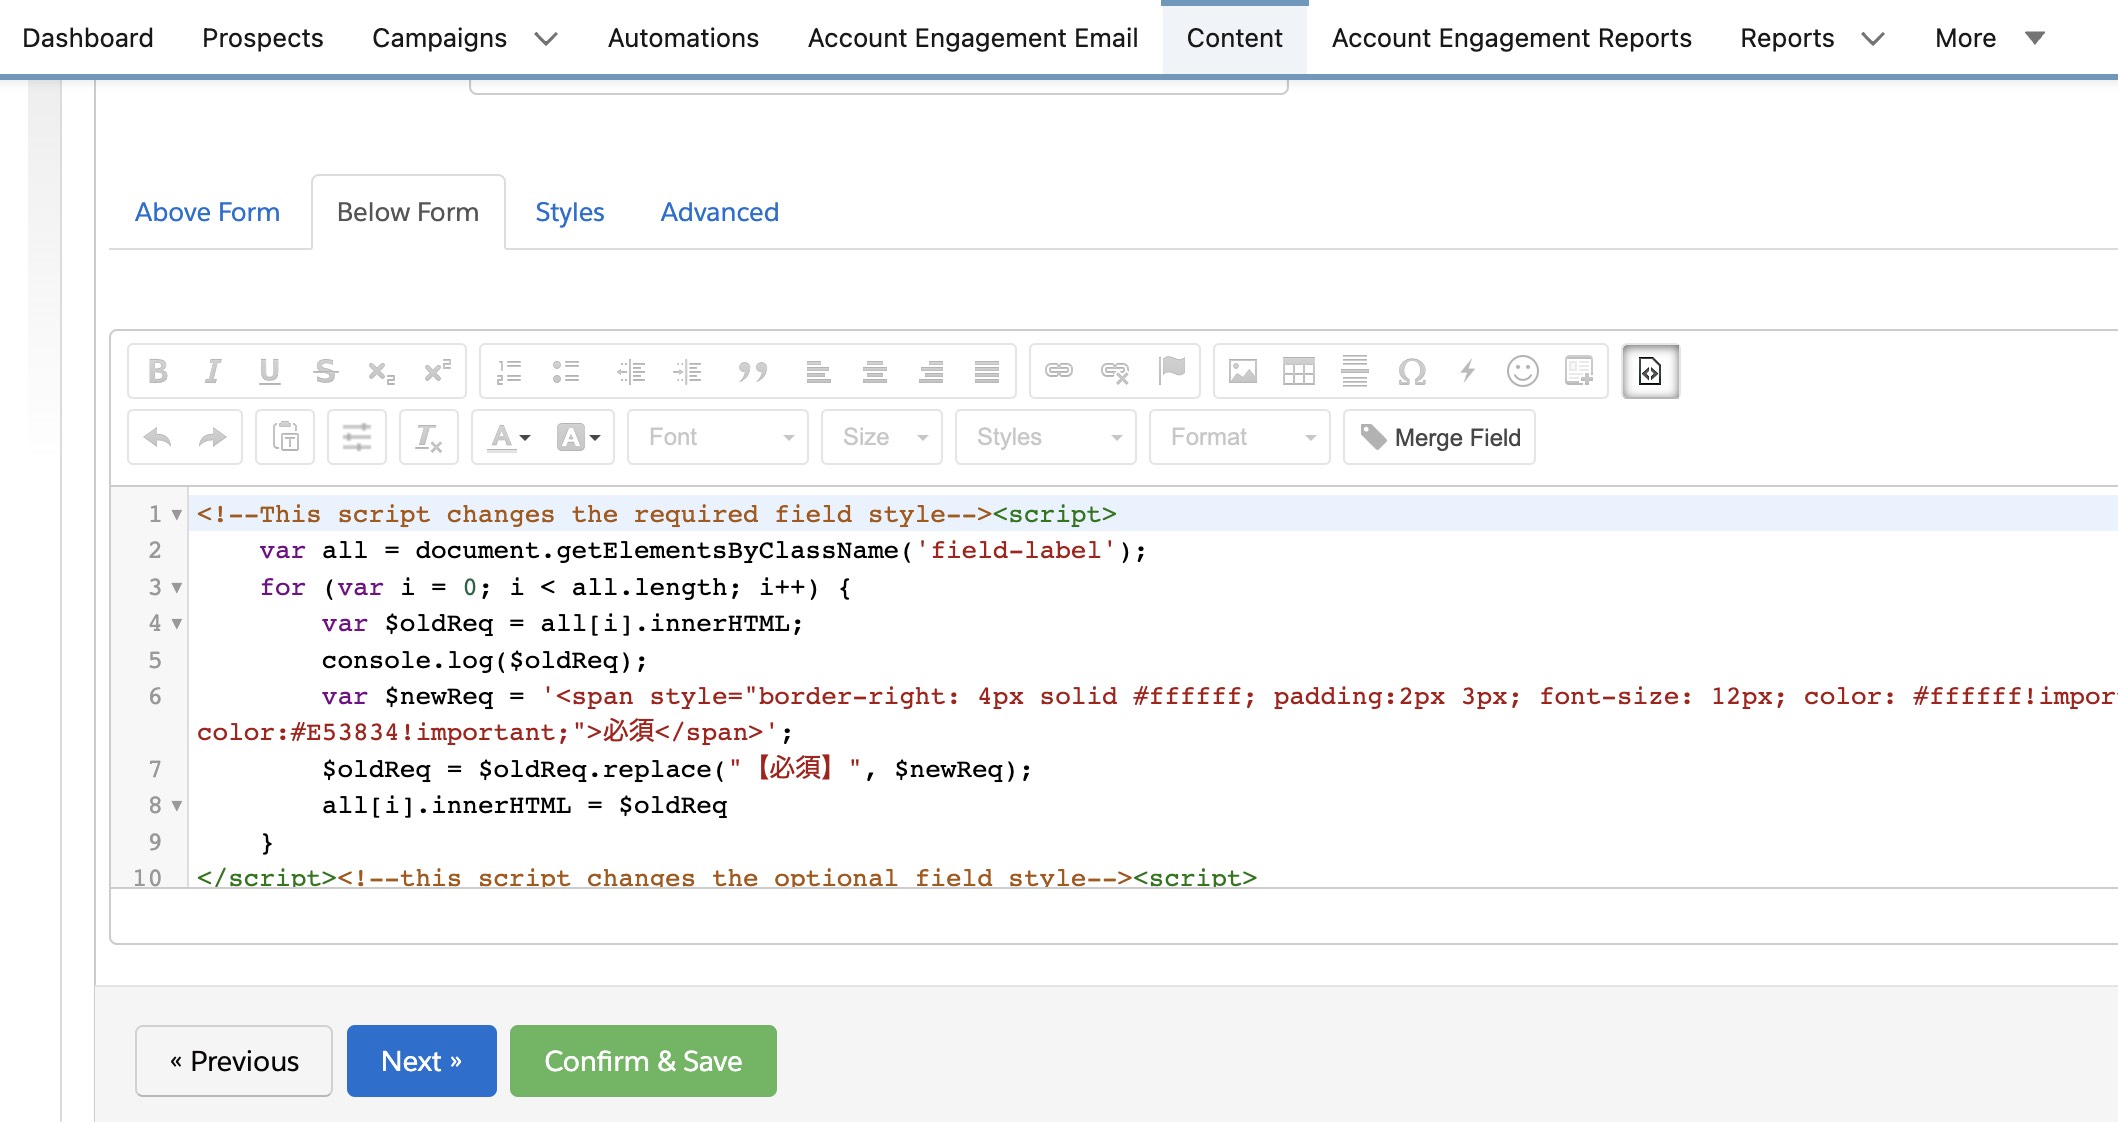
[advanced_iframe src=”https://info.superdrive.io/l/991512/2023-06-16/b2zy8″ width=”100%” height=”2200px” frameborder=”3″]
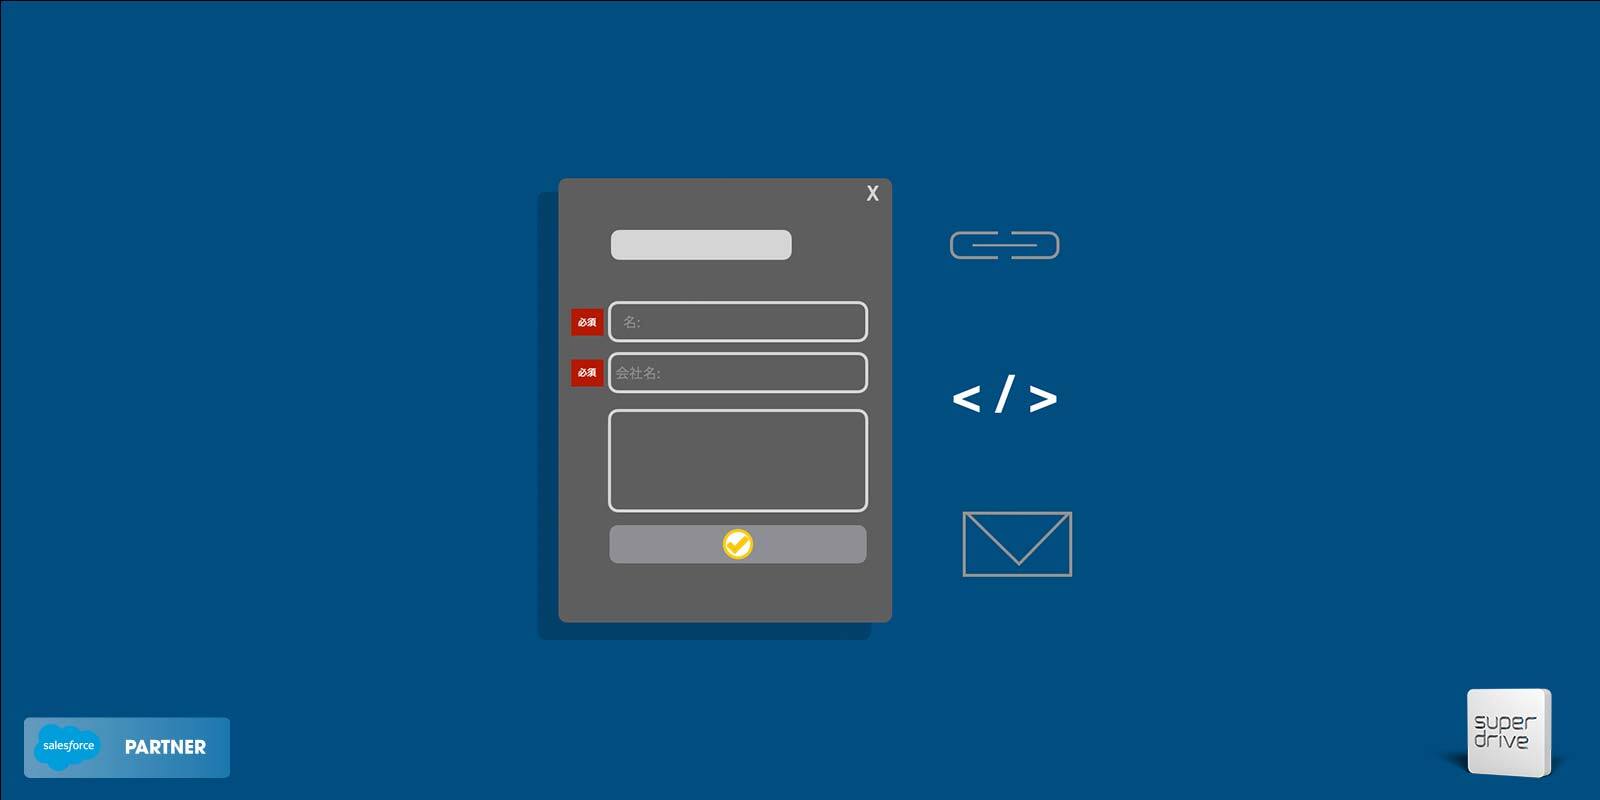
To get in touch with our team of experts, please drop us a line in the form.
Written by Alon Margovskiy, Head of Marketing Automation, Superdrive.
Superdrive is an official Salesforce Partner with Salesforce Certified Marketing Cloud Specialists and Consultants.